The hole was the final straw.
I love being free and easy with my precious quilts. I throw them out on any ol’ lawn as if to say, “look how casually I spread beauty out on dirt! Come, sit and eat. No, don’t worry about your shoes. Oh, it’s fine if the toddlers are crushing blueberries, no biggie. What good is a quilt if you don’t use it!” But then I get this hole. And these stains. And all of a sudden I’m all like, “I swear child, take your shoes off, what are we barbarians?” And I see that all the hardcore picnicking we have been doing is killing off my quilts. It must end. Not the picnics, of course.
So, here is your quick(ish) picnic blanket tutorial, guaranteed to not rip under rock/child/shoe type of duress, AND keep your bum dry.

Materials:
- Waterproof table pad
- Piece of fabric the same size of table pad
- Sewing machine and all that
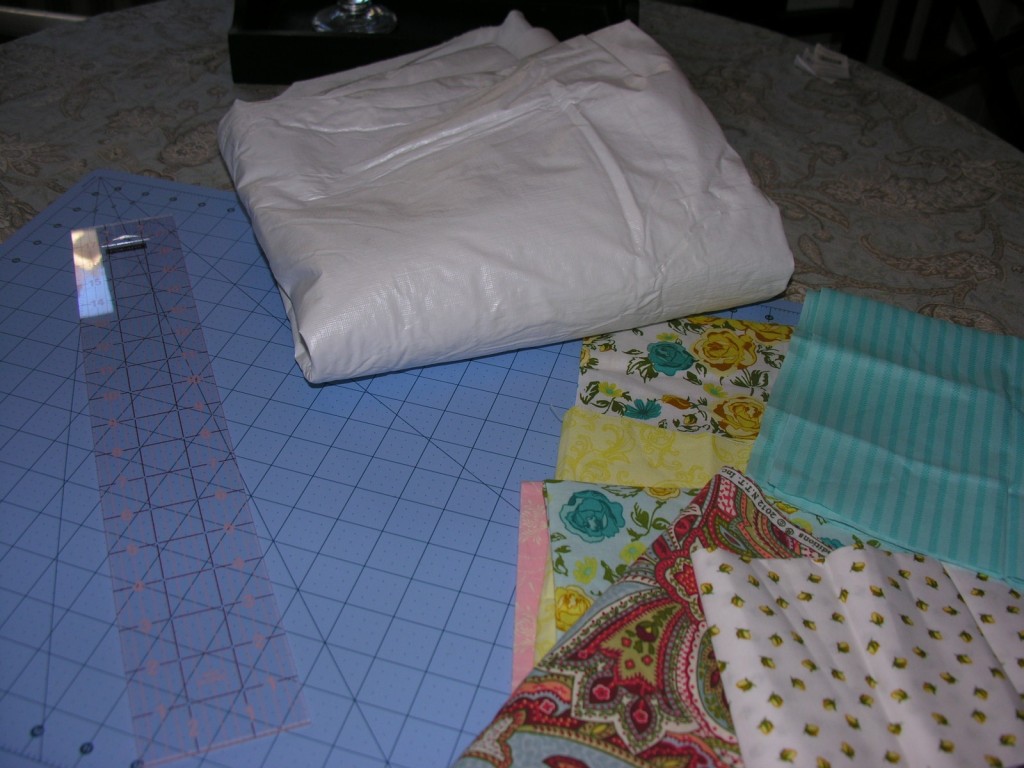
Step 1: prepare your top fabric
I decided that I wanted a good old fashioned patchwork top for the picnic blanket, plus I could use up most of my scrap fabric. So I cut 60 nine inch squares.
Then I decided that it was too much work to sew them all together, because you know, this is supposed to be a quick and easy tutorial.
Then I decided I didn’t want to have to go buy fabric because I can be outright cheap and don’t like to buy things when I can use, say, an old curtain or bed sheet.
Then I couldn’t find an old curtain or bed sheet, but I did remember that I have about a million yards of canvas drop cloth for some craft reason or another, and hey, this is perfect for an indestructible picnic blanket!
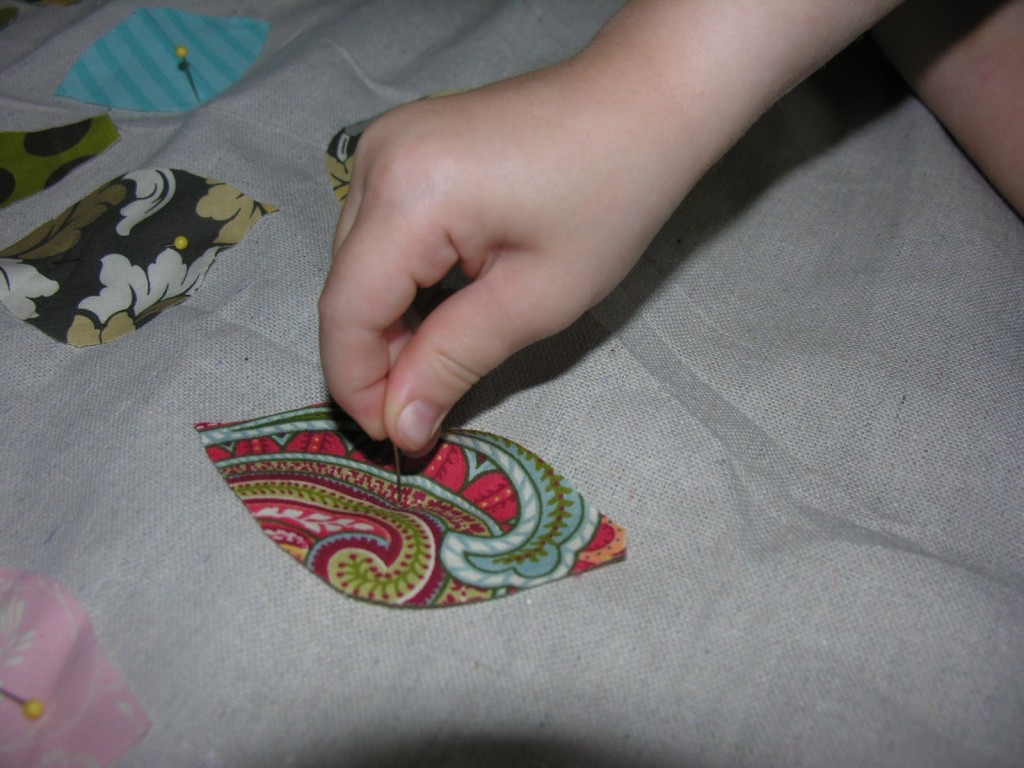 So I used my scrap fabric anyway and then had a little help pinning it together.
Anyhow, at some point you will find yourself arrived at this spot where you have two equal sized pieces of fabric and from here on out you can safely assume that this is the quick and easy tutorial you signed up for.
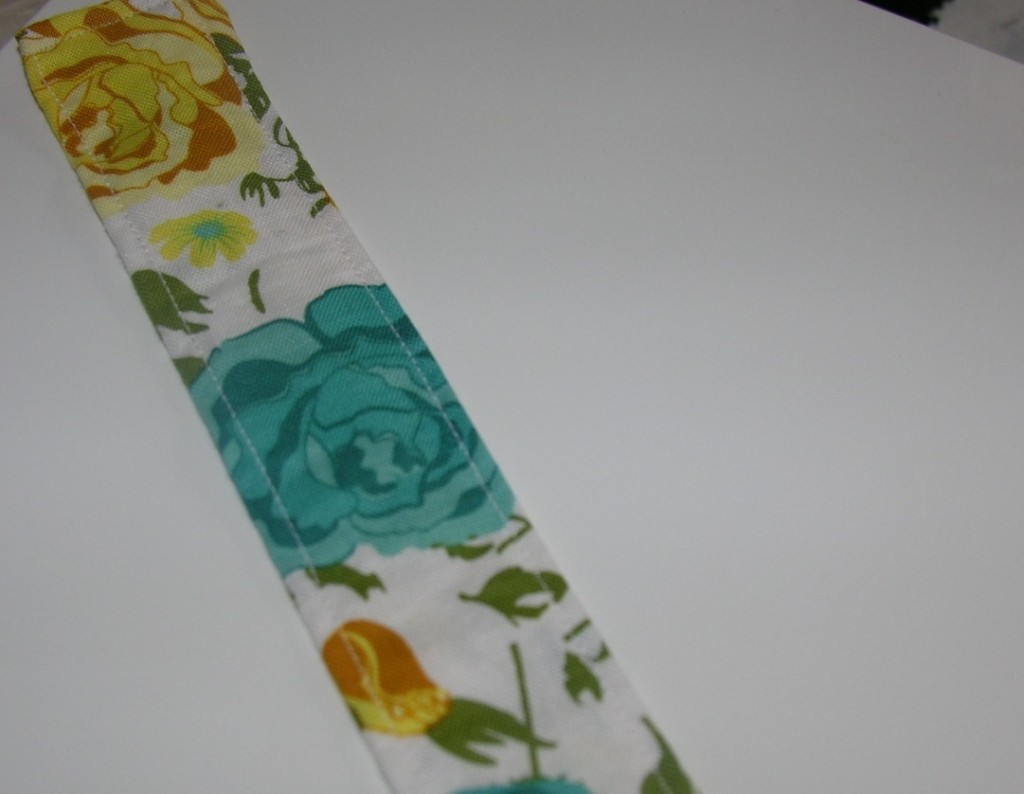
Step 2: Make straps
Cut two strips of scrap fabric. They should be about 3 inches wide and 24 inches long.
Fold each in half lengthwise, right sides together. Pess with an iron if you are meticulous. Skip the iron if you are a lazy sewer like me.
Sew around one short end and sew the long end closed. Use a safety pin attached to the sewn short end and invert the tube. Press flat (or don’t, shhhh) and top stitch around all sides


Step 3: Pin and sew the sides
Pin your top and bottom fabrics together, right sides together. Pin the straps on top of each other about 12 inches from the corner on a long side. Make sure they are on the inside of the sandwich so you don’t feel like a dummy later.
Sew around all edges, but stop short from joining the seam.

Step 4: You are almost there
Turn the blanket right side out and envision a pile of blueberries squashed like a Van Gogh sky through the center of it-you are almost done.
Step 5: Top stitch
Now finish that sweet dear off by top stitching around the entire thing so it won’t get wonky in the washer. Finishing School never hurt anybody.

And that’s all there is to it. All that’s left to do is grab your new blanket, head to the park, and enjoy a picnic lunch with friends and family!


Do you have a full picture view of the blanket? I’d love to see what it looks like.
Hi Erika! I’m the worst photographer ever! I’ve added a picture of the whole thing to the bottom of the post, thanks!
Oh my gosh, it’s freakin’ adorable!!! Thank you so much for sharing the full photo. I love it!
Love this. I too recently brought a quilt on a picnicking affair. I thought it looked beautiful on the grass. Then I gasped when I picked it up and saw all the mud on the back from the wet ground. Alas. Never again.