
In honor of International Babywearing Week (October 7-13), I’m sharing a tutorial for DIY ErgoBaby teething pads. This tutorial is made specifically for the Ergo carrier but could be tweaked for any mei tai / Bjorn / strappy baby carrier. This has been on my to-do list for quite a while, with a drooly little companion in the full swing of his first emerging tooth, but it’s been one of those to-do items that continually gets put on the back burner. Until last night, when my husband picked up the Ergo, looked totally disgusted and asked WTH it was so wet, and the to-do item became expedited.
Why teething pads, you might ask? You’re not really supposed to wash the Ergo. The company suggests spot cleaning (although anyone with a baby knows spot cleaning doesn’t always cut it, between diaper explosions, spit up, and other general pleasantries that come with having a baby). To minimize the amount of times you actually do run your carrier through the wash, detachable teething pads come in clutch.
You’ll need:
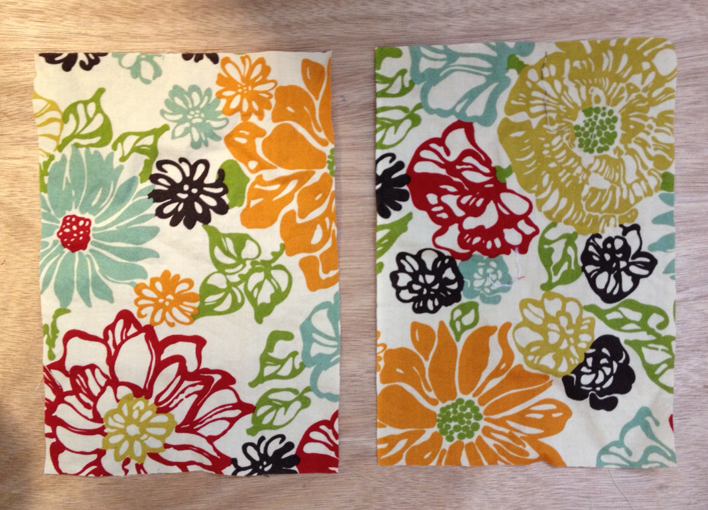
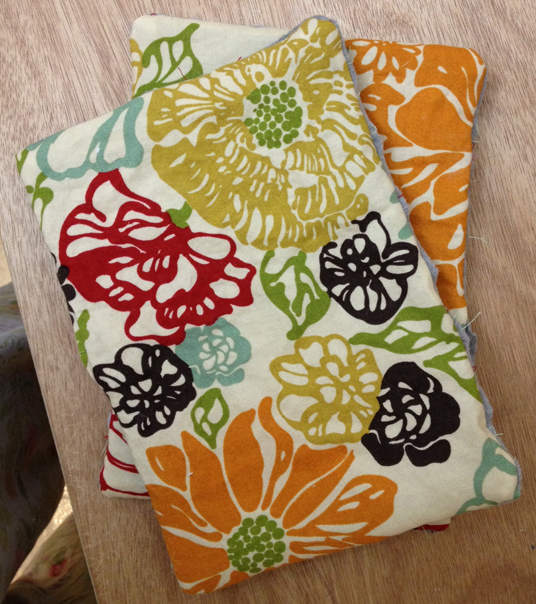
– Scrap cotton fabric
– Cotton batting or flannel
– Scrap terry fabric, chenille, or similar absorbent fabric (all those extra wash cloths or towels from your baby shower come in handy here). I went with minky fabric because that’s what I had on hand
– Strips of Velcro
– Paper to make a template
1. Make your Template
Create a 9 1/4 x 6 1/2 inch template. I used scrapbooking paper because it’s sturdy, but any paper will do.
2. Cut your Fabric
Pinning your template to your fabric, cut your cotton fabric, batting / flannel, and terry. Repeat so you have two of each.
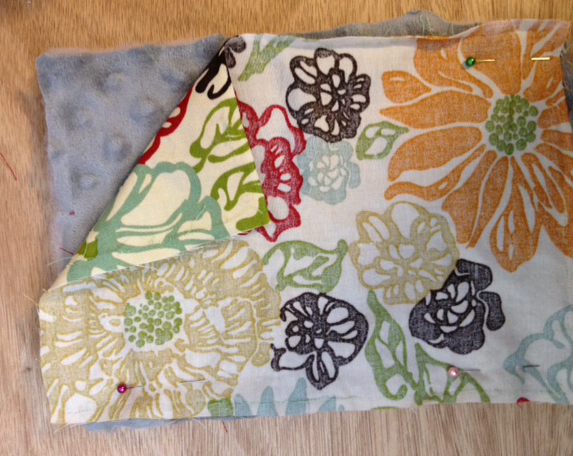
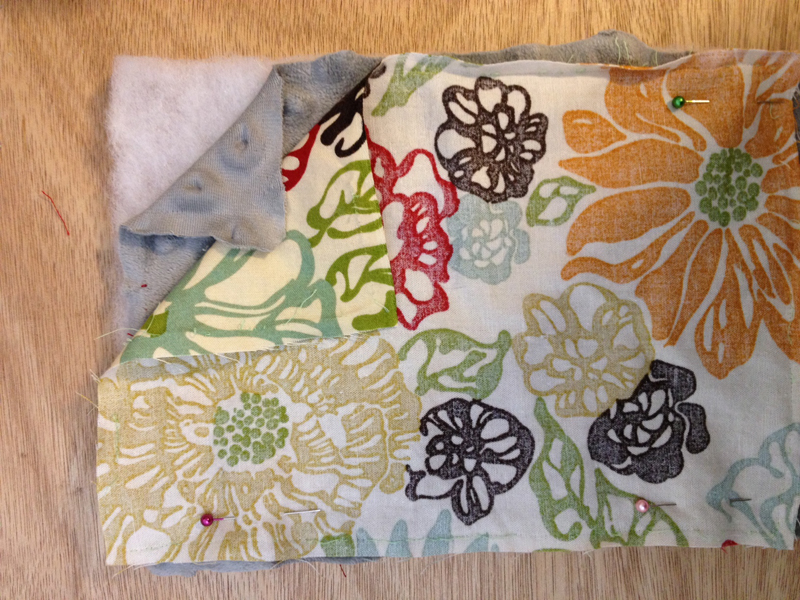
3. Layer and Pin your Fabric
Layer your fabric so that your cotton and terry have right sides facing each other, and your batting is on the outside of your terry. Pin in place, and stitch around the entire edge of your fabric, leaving a 1 inch hole for turning the pad right side out.
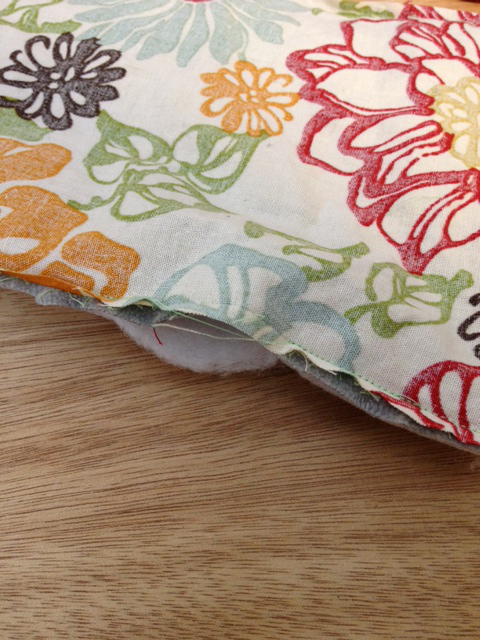
4. Turn Pads Right Side Out
And iron, if you feel so inclined (full disclosure… I did not.)
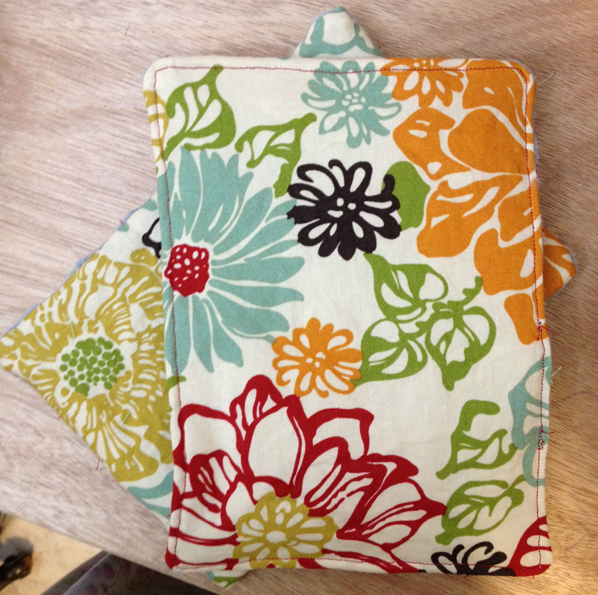
5. Top Stitch Around the Pads
be sure to catch and secure the opening that you turned your pads through.
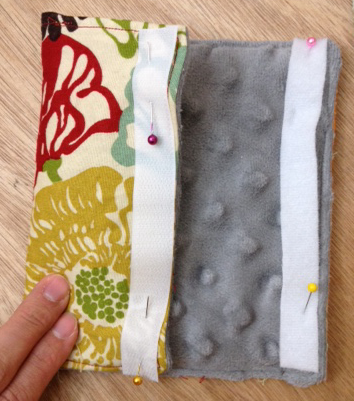
6. Affix Velcro
Cut a length of Velcro and sew it to your pads along the 6 inch side, as pictured.
7. Attach to your Ergo (over dried baby slime in my case) and let your little one have at it!
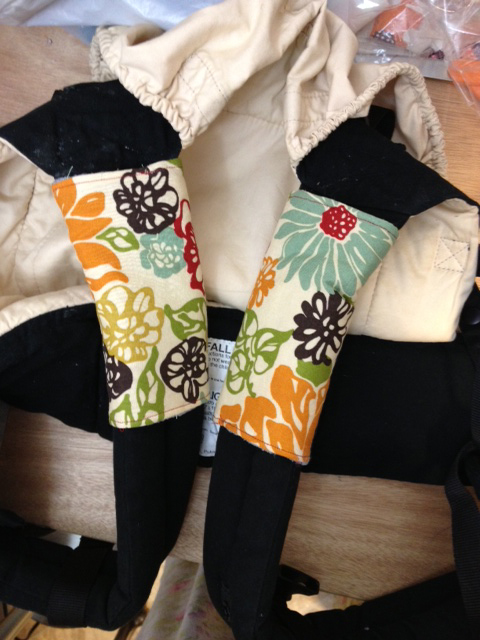
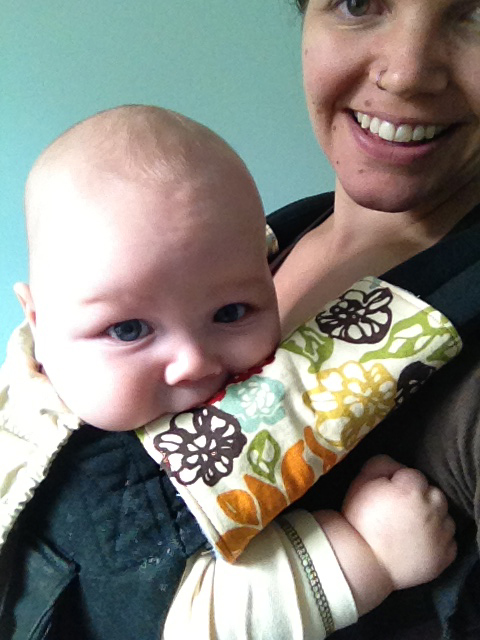
I love projects like this because they are low effort / high impact, and look how cute my Ergo is now!


Thank you so much for this tutorial!! I’ve been meaning to do this since my son was born and he’s now almost 3. And my daughter is 14 mo so better late than never haha! It turned out great even with my inexperience with a sewing machine.
is this for ergo 360
The widest part of the strap seems to be 7 inch around so I wonder if 6 1/4 with seam allowance may not be enough
What seam allowance did you use? This is super cute!
These are just what I need! I am going to try these next week. Also, where is this fabric from? It would match my playroom!
lovely , I like
I haven’t heard this method before.. but I will definitely try it! Elissa, thank you from all my heard, my baby screams really loudly.
This is great Elissa! I was just thinking the other day about how I wanted to get some teething pads for my ergo, but they are expensive! Great solution!
They are expensive!! And so easy to make 🙂