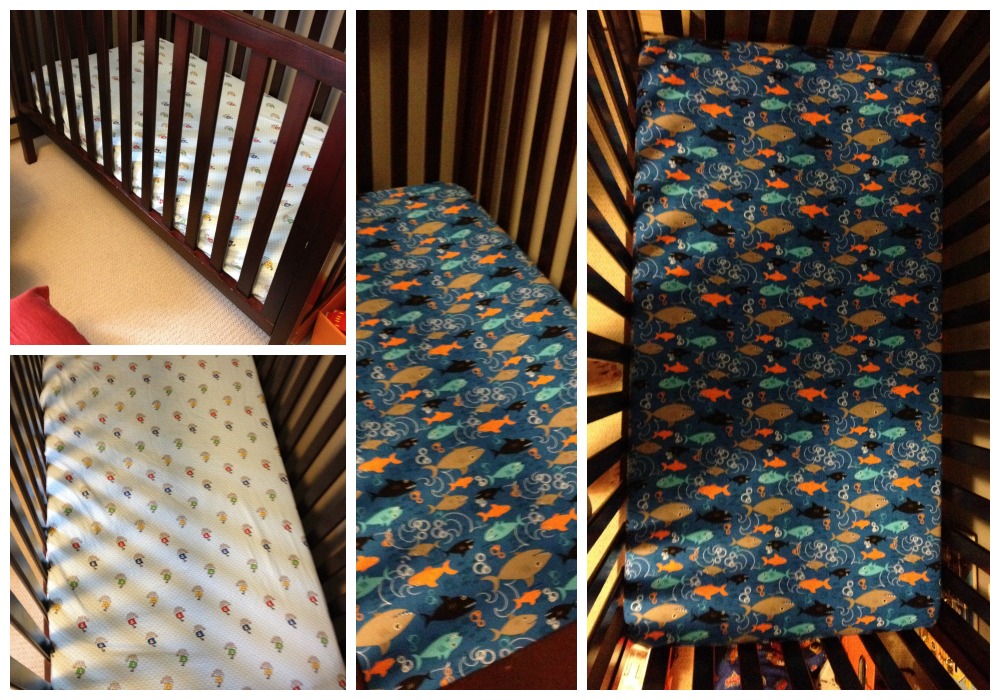
Here we go again, my life seems to be filled with pregnant Mommas. Last time this happened I shared with you my easy squeezy tutorial on how to make your own Diaper Changing Pad Cover. I love those things, just made a few for my sister-in-law. But this time I’m going to give you an even easier tutorial on how to make your own crib sheets.
3 reasons why I love it so much:
- It’s easy! I’m no sewing genius so if I can do it, so can you.
- If you do it right you can create one of these for a LOT LESS $$$ than buying one. This one I made for only $6.50 (save up those Jo-Ann’s coupons because they can come in very handy with projects like these that require multiple yards of fabric)
- Because you choose the fabric you can create something completely original.
So fire up your sewing machines and follow along on this super easy tutorial.
Note: this sheet fits a standard crib mattress (70”L x 42” W)
1. Wash and cut your fabric. I like using cotton but if your baby is born during the winter months there are a ton of sweet flannel patterns out there as well. Dimensions of the fabric should be 70”L x 42”W (roughly 2 yards).
2. Draw a 8” square in each corner of the fabric and cut them out.

4. Next, on the inside edge that’s raw fold it over ½” (or so) and iron all the way around. Then fold it over another inch and iron a pretty slick crease again. This just ensures that the edge won’t fray.
5. Sew all the way around the edge of the crib sheet with a zig zag stitch or serger. It doesn’t have to be pretty as this is the part that’s going under the mattress.
6. Cut 4 ft of elastic into 4 equal strips. That’s 4 pieces that are 1 foot long each (for those that are math challenged like myself). I recommend using 3/8” elastic. Use the free end of the elastic and feed it through the tube.
7. Find the center of your elastic and place the center on the corner seam. Starting at the corner seam, stretch out your elastic while you are sewing. And I do mean stretch it out, hold that thing as taut as you can while still maintaining control of your needle. And once again, be sure to use a zig zag so there is some stretch in your thread.
8. Repeat the same process on the other half of the elastic and then repeat the process at each corner.
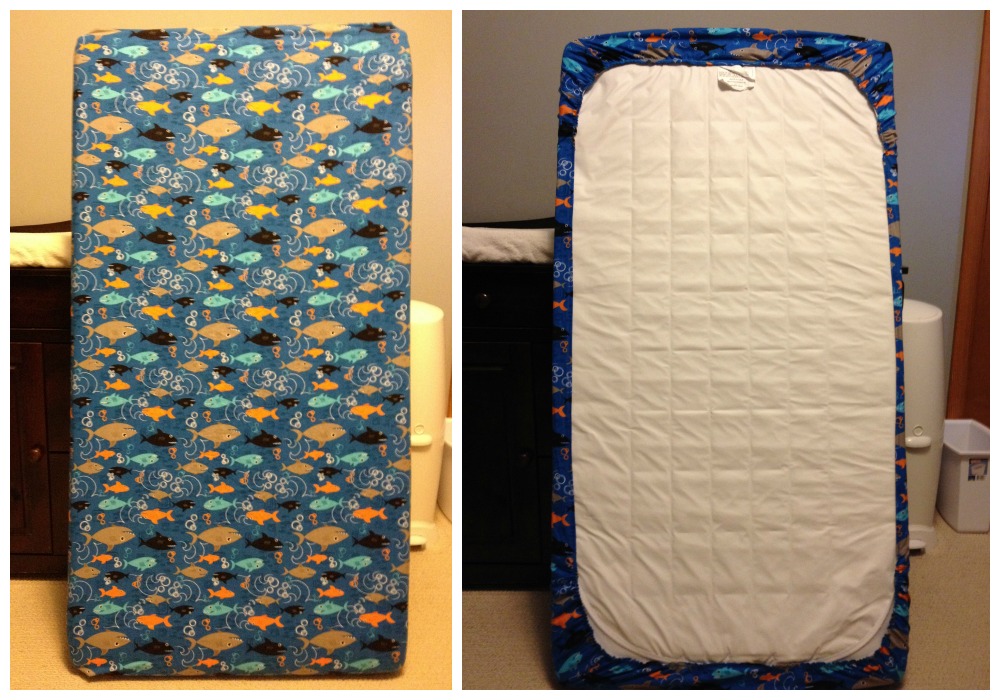
9. You’re done, here’s what it should look like from the bottom and top.


[…] that fit over those huge diaper covers out of old t-shirts. I realized that I was kind of good at sewing and that I enjoyed doing it. It was work, […]
You really inspired me here. I’m definitely not a sewing genius too but I really want to start DIYing at home. I really appreciate your detailed illustrations.