
Today I’m sharing with you my latest DIY home improvement project. Coat Hangers inspired by nature…and a mashup of a few posts I found on Pintrest. This project is so easy and you can basically find the materials in your yard, in your garage and with a quick trip to your local hardware store.
Materials:
- Pruning shears
- Branches that are strong enough to hold a jacket or at least ½ “ in diameter
- 2×4 or 1×4 piece of wood cut to your desired length
- Paint (2 colors = one for branches and one for board)
- Dropcloth
- Wood screws
- Power drill with drill bit and Phillips screwdriver bit
- Mounting hardware (optional)
Here’s what I did:
1. I spent about 30 minutes cutting off sections of branches from small trees with some simple pruning shears. I collected about 15 in case I needed extra or some didn’t fit or weren’t strong enough.
2. I cut a piece of 2×4 that had been hanging around my garage for quite some time to a 32” length. (I actually cut 2 boards since I was going to do 2 coat hangers).
3. I chose to use spray paint on this project but you can use regular paint if you’d like. I like to say that I don’t like brush marks but part of it is I’m lazy as well 🙂 I used Lowes spray paint and primer in White (gloss) for the branches and Plumberry (gloss) for the boards. 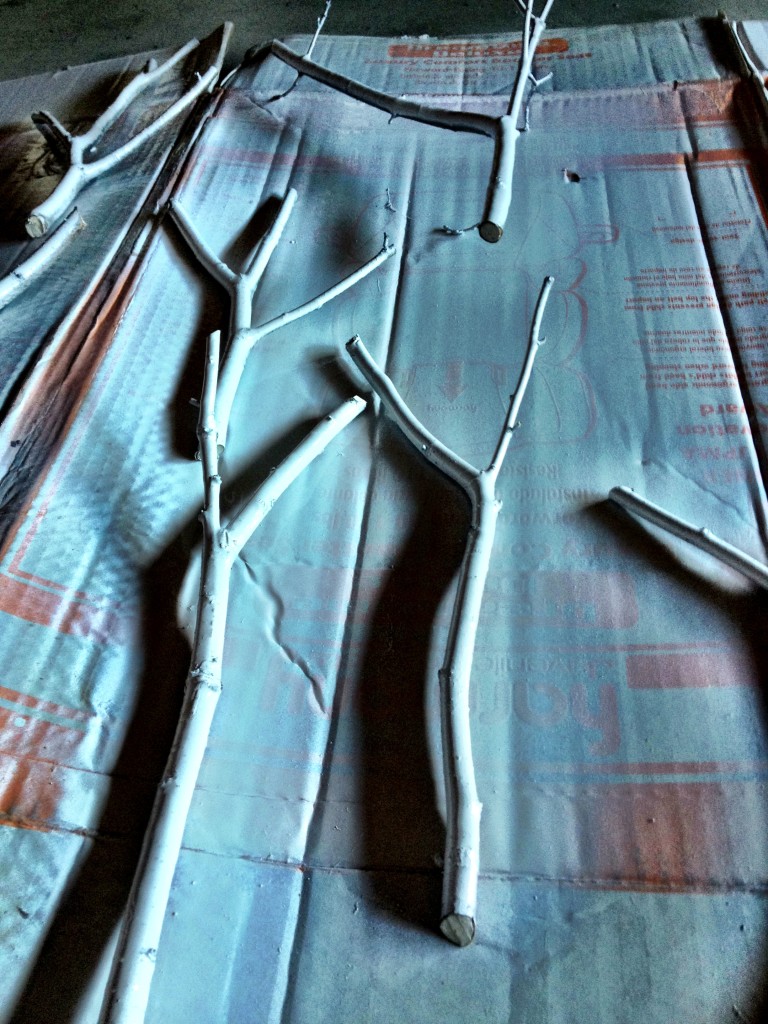 4. 2 coats of paint on each

5. Once dry, I then arranged the branches where I wanted them and then trimmed them down to an appropriate size.
6. Using the power drill with the drill bit I then drilled 2 pilot holes into each branch straight through to the board.

7. Lining up the holes in the branch with the ones on the board I then used the drill to screw down the screws.

8. Repeat steps 6 & 7 until you’ve attached all your branches.
9. I didn’t use mounting hardware, rather I found a couple of studs and screwed these things directly to the wall.

10. For a finishing personal touch I added these little scrapbook stickers I found at Michaels to cover the screw heads. You can always just paint the heads to match the color of the branches as well.

Voila, done! Now my guests, both tall and short, have a place to hang their stuff and I only spent roughly $15 (paint & stickers) to complete 2 coat hangers (10 hooks). Stylish, durable, personal, and cheap!


Love these! I added them to my Nature Art pin board on Pinterest.
So cute and creative!
Thanks Nissa and Christin…I had a lot of fun making them. Think I’m going to have to get myself some wood working tools. Ha!
Super cute Shannon! Love them!
Great idea, they turned out awesome!!