My sewing skills are sadly lacking.
Honestly, most of my sewing skills came from home economics class in middle school when I sewed an apron. Beyond that, I have played around a little, but not much. Sewing is really intimidating! I usually wind up yelling at my poor sewing machine whenever I try to use it.
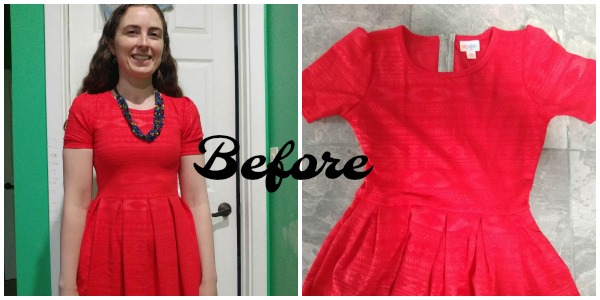
Lately, I have seen a lot of Facebook posts from people who have altered their clothes. The results are adorable! I want to change my clothes, too, but I am afraid that I will ruin a perfectly good item. This finally changed when I won a free dress. It was cute, but the arms were incredibly tight. I decided to put my poor sewing skills to the test. I removed the dress’s sleeves. Here is how I did it:
1) Remove the sleeves with a seam ripper.
A seam ripper is such a useful little tool! They are inexpensive enough that everyone should buy one! To remove the sleeves from your garment, first turn the garment inside-out. Find the place where the sleeves attach to the garment. There will be thread at this seam, which is what connects the sleeves to the rest of the garment. Carefully slide the seam ripper under these threads and cut them all out. Just be careful not to go too fast! If you’re not careful, you will rip the fabric. I speak from experience!

2) Decide how you want to finish off the raw edges.
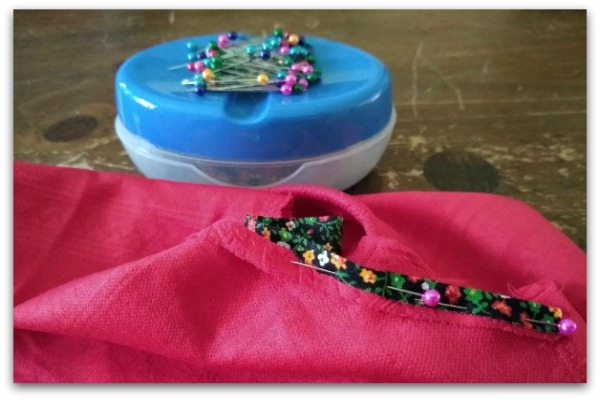
Once you remove the sleeves, your garment will be left with a raw edge of fabric. For one thing, it doesn’t look very nice. More importantly, a raw edge will quickly start to unravel. You must fix this! The easiest way to finish off a raw edge is to simply fold the fabric under itself to form a seam and sew it. For a fancier look, add a trim piece. I had some old bias tape laying around (for years!), so I used that to finish off the edges of my dress.
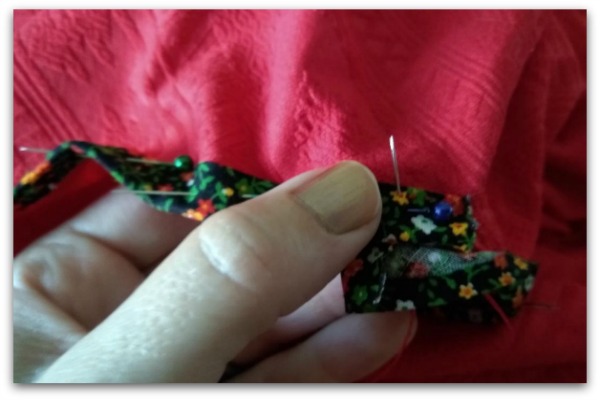
3) Pin your seam.
Once you fold under your seam, secure it with pins. This is your chance to see what the finished product will look like. If you don’t like what you see, take the pins out and start over again. I had to do this. It’s frustrating to take out all the pins, but it’s better to fix the problem than to sew it into your garment. Point your pins in the same direction as each other to decrease the chance of stabbing yourself. (I still managed to stab myself a few times, though!) To make it easier on my fingers, I prefer to use pins with big, round heads. I’m also a fan of magnetic pin cushions. They make me feel so cool!
4) Sew the seams.
If you have the sewing skills, sew the seams on a sewing machine. It’s quicker and sturdier than sewing by hand. However, I didn’t feel like getting into a shouting match with my machine, so I opted for the slower method. Pick thread that matches your garment. Take the pins out as you sew, especially if you’re using a machine. You can seriously damage a sewing machine by sewing over pins, so don’t take that risk! If something goes dreadfully wrong, you can always rip out the errant stitches with your seam ripper and start over again.
5) Iron the seams.
Ironing the seams will give your garment a finished look. However, read the tag first and make sure that the fabric can be ironed. You don’t want to ruin all your hard work by burning it! Honestly, I was lazy and skipped this step. If it looks okay, leave it alone!
6) Wear your new outfit!
Finally, enjoy the benefits of all your sewing skills and show off your new outfit! Congratulations!
What sewing project is on your to-do list?
Pin this post and be sure to follow Vermont Moms on Pinterest!
Vermont Moms Insiders get exclusive content, so sign up today!


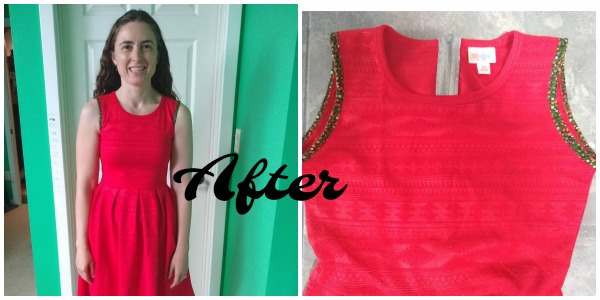
The finished, sleeveless dress looks much better. Congrats on a successful project.