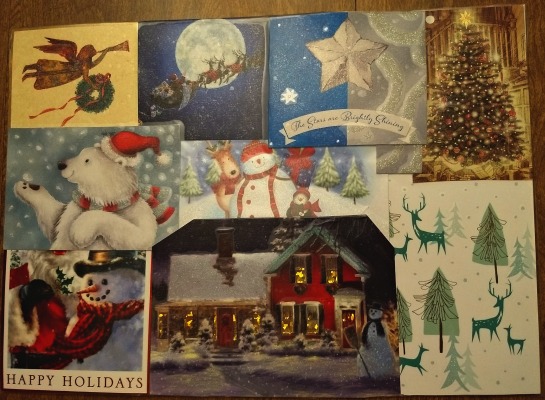
What do you do with old Christmas and holiday cards once the holiday season is over? Do you recycle them? Put them in a box for safe keeping and look at them once every ten years? Give them to your children to color on?
I’ll admit, I am guilty of all of the above. However, I decided to save our favorite cards from the last three years in anticipation of resurrecting DIY holiday placemats. My mother used to make these when I was young.
I decided I wanted to try to make holiday placemats for my kids. Here is my attempt at turning those old Christmas cards taking up space into holiday placemat masterpieces.
Materials needed:
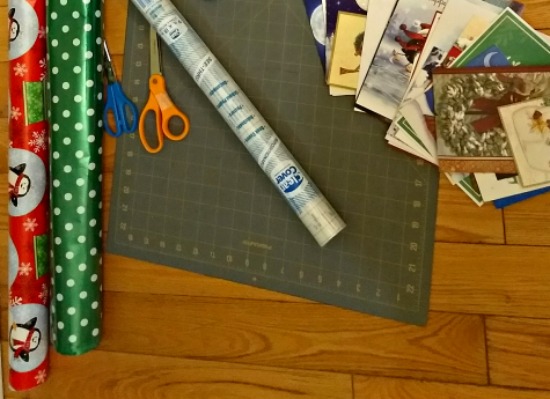
- 10-15 Old holiday cards per placemat. (If they are folded cards, cut on the folded creases and take the backs off.)
- Ruler or cutting mat
- Scissors or Exacto knife
- Sturdy, higher quality, wrapping paper (nothing that rips too easily)
- Clear contact paper
I also recommend you have another person around to help you with the contact paper, preferably not a child. Or possibly an older child who can wait for and follow very specific directions and use sharp tools.
- Have your children pick out the cards they like each for their own placemats. If you have multiple pattern choices for wrapping paper, let them also choose their own.
- If your children don’t meet the ‘helper’ requirements above, send them outside or to bed. Better yet, send them out of the house with a family member or friend. Anywhere but where you’ll be working will do. Making these will take forever if you don’t.
- On a flat surface (a table is best), arrange the picture fronts of your cards into a rectangular collage about the size you would like your placemat to be. You do not need to cut pictures out of any of the cards. It is sufficient just to overlap the cards as you wish so you can see the desired parts of the pictures is fine. Make sure cards on all four sides are lined up so the edges form straight lines.

Starting the holiday placemat picture collage. - With your ruler, measure the sides of your collage. Cut a piece of clear contact paper larger than your collage so that it will create a border around it of about an inch on each side.
- You’ll want to do this step standing up if you’re working at a table. Peel the wrapper off the sticky side of the contact paper and have your helper hold two corners on one of the short sides of the rectangle of contact paper. You hold the other two corners. Your helper and you should then shift so that you are both holding the contact paper 1-1.5 feet directly above your collage of cards.
- Lower your end down and stick it to the table so that it leaves the inch border around one side of the collage that you can see the table through. Your helper should still be holding their side well above the collage.

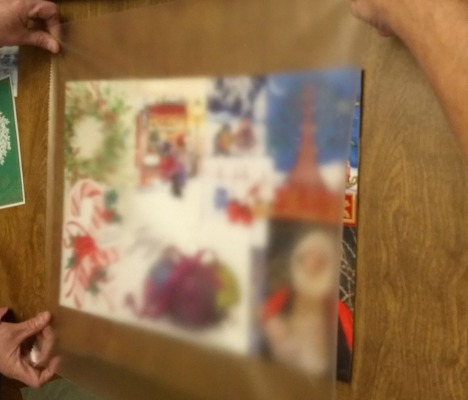
One end of the contact paper is on the table, the other is still being held up. - Slowly cover the collage with contact paper by instructing your helper to lower their end of the contact paper gradually as you cover the placemat while moving toward your helper, smoothing out as many of the bubbles in the contact paper as you go. When you get to the other end of the mat, your helper will stick their end of the contact paper to the table as well. Again, there should be an inch of just contact paper on each side of the collage. Find any more air bubbles and smooth them out by pressing down on them and pushing them out of the outsides of the collage.

Smoothing out the air bubbles - Peel the collage off the table and flip it over. Set it aside with the contact paper sticky side up.
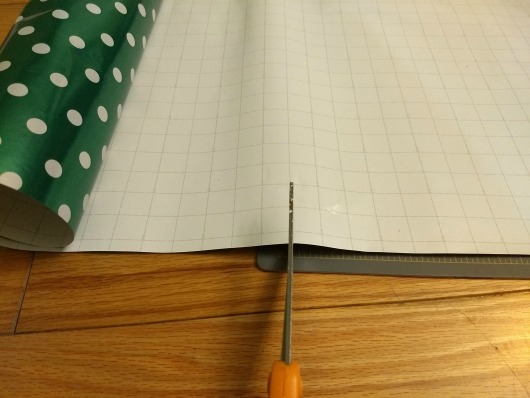
- Cut a piece of wrapping paper the same exact size as your collage. (One of my wrapping papers had guide lines on the inside of the paper to aid in cutting straight lines. This was extremely useful to me, as I can hardly draw a straight line to cut with a ruler or cutting mat).

Cutting the wrapping paper to size. - Cut another piece of clear contact paper, again, larger than your wrapping paper. As in step 4, you want to create a contact paper border around the wrapping paper of about an inch on each side.
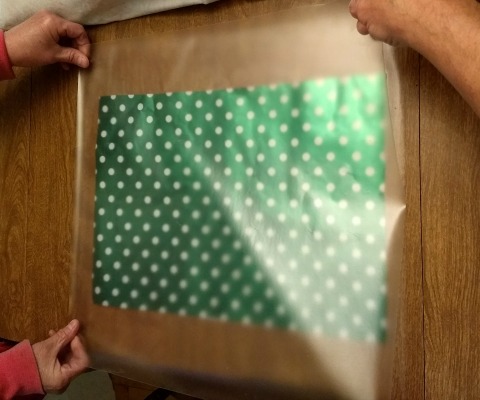
- Repeat steps 5-7 only using the wrapping paper instead of your collage.

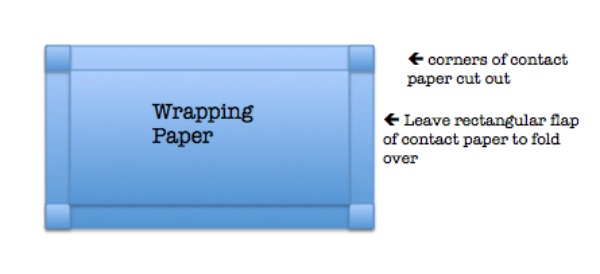
Same steps as before, just with the wapping paper. - Flip your partially laminated wrapping paper over. Cut out the corners of the contact paper. This will create four contact paper flaps that can be folded over into the non-pattern side of the wrapping paper. Fold these flaps flush to the edges of the wrapping paper to create a seal. This is important for helping keep liquid and dampness out of your placemat.

Sealing the placemat this way is important to keep dampness out. - Place your laminated wrapping paper pattern side up on top of the already face-down picture collage so that the wrapping paper lines up exactly with the collage.
- Cut out the corners of the exposed contact paper on the collage layer. This will create more seal-tight flaps on each side of your placemat. Fold these flaps on top of the wrapping paper layer tightly. Work out any air bubbles as needed.


Ta-da! You just recycled your old Christmas cards into a holiday placemat you can use for seasons to come.
My kids love their new holiday placemats! They have also learned a bit about finding creative ways to recycle. I hope to save more Christmas cards for next year. It would be great to make my husband and me placemats as well.
This is a very versatile project. You don’t have to make just placemats. When I was young, my mother followed the same procedure to make book covers for packets of Christmas music we used going Christmas caroling with our Girl Scout troop. The only difference was that she created a collage large enough to fold it in half around a packet of Christmas music sheets. She punched holes through the book covers and the sheets of music so that the sheets were centered in the folded cover with all of the holes lining up. Then, she secured the music book together by inserting ribbon through the sets of lined up holes and then tying the ends together to make rings.


